Same passion, different focus

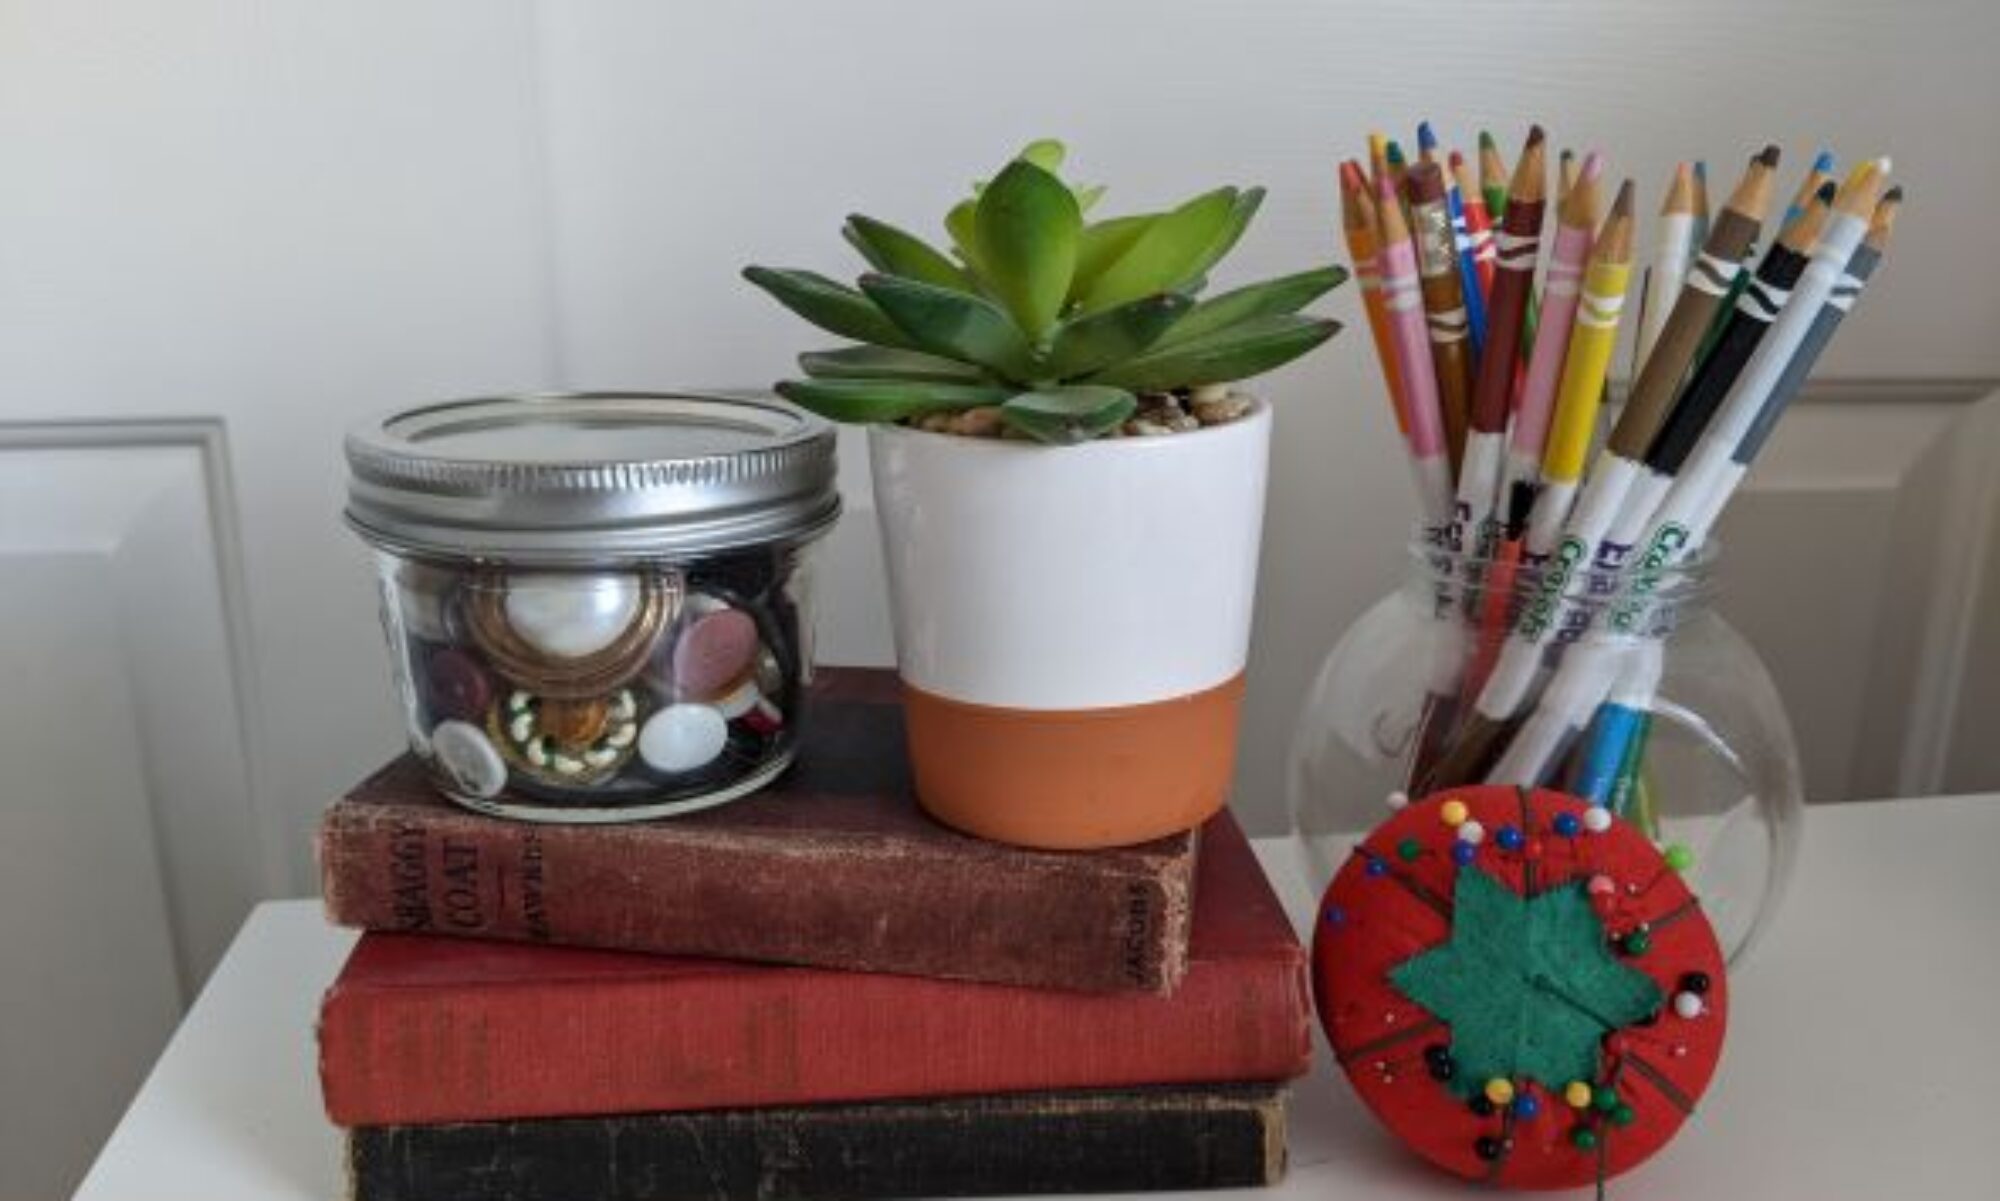
One of the first things I did when I retired from teaching three years ago (after sleeping for about a month) was to convert a spare room in my home from a teacher’s office to a writing/sewing studio. https://seamslikeastory.com/creating-a-space-to-sew-and-write/ After thirty-seven years of teaching, I needed a different way to occupy my time and engage my mind. I rekindled passions I had put on the back burner and began to sew and write again.
A Different Type of Work

I find the work to be satisfying and inherently different from teaching. After spending a morning working on a poem, story, or sewing project, I have something tangible to show for my efforts. In my teaching profession, though the goals were noble and the rewards great, it often took weeks, months, or even years to see progress.

Simpler Solutions

If I make a mistake sewing a garment or am not happy with the way a story is going, I can rip out seams and rewrite paragraphs. Struggling students were much harder to figure out. Many times solutions weren’t obvious, and it took many tries to succeed. There were times I wasn’t able to unravel their tangled threads or smooth out their life stories.

Reap what you sew

So why did I stick with teaching for all those years? Because sometimes, sometimes, a spark ignites, a plan works, a struggling student smiles and succeeds, I made a difference; I reaped what I’d sewn.
These moments, brief as they may be, are the rocket fuel that drives those of us who were, and are fortunate enough to be educators. That passion drives me still. I’m finding new ways to channel it.


Threads of Thought
Transitioning to retirement has been a three-year journey for me.
What are some of your retirement passions?
What do you look forward to when your retire?


